
If you’ve ever handed a kid a scratch art sheet and watched their eyes light up, you already know how magical it can be. But after a while, the same basic designs start to feel a little repetitive, and kids lose interest fast.
That’s where having a solid set of scratch art ideas makes all the difference. With the right techniques, scratch art can stay exciting, creative, and genuinely engaging for children of all ages.
This guide covers a wide range of fun and easy scratch art ideas that kids will actually want to try, from simple patterns to more creative themed projects.
What is Scratch Art and How Does It Work?
Scratch art paper has a base layer of bright color, usually a rainbow or metallic finish, covered with a black coating. When you scratch the surface with a pointed tool, the black layer comes away, revealing the color underneath.
Scratch art is more than just a fun activity; it quietly builds skills that matter. Controlling a scratch tool strengthens the small muscles in the hands and fingers, which directly support handwriting and pencil control in younger children.
It also encourages focus and patience, since kids have to slow down and think about where and how they scratch.
On the creative side, starting with a completely blank black surface pushes children to come up with their own ideas from scratch, building confidence in their imagination.
Materials Needed for Scratch Art Projects
To get started with scratch art, you’ll need a few basic materials. This is a list of what you’ll need to create your own scratch art masterpiece.
| Material | What It’s Used For |
|---|---|
| Scratch Paper or Cardstock | Provides the base surface for scratch art; smooth, thick paper, or pre-coated black scratch paper works best |
| Oil Pastels or Crayons | Used to create the colorful base layer beneath the black paint, oil pastels give the richest, boldest colors |
| Black Acrylic or Tempera Paint | Covers the colored layer to create the dark surface that gets scratched away to reveal the colors beneath |
| Dish Soap | Mixed into the black paint to make it easier to scratch through and help it stick better to the pastel surface |
| Scratch Tools | Fine-pointed wooden sticks or metal tools are used to scratch away the black layer and reveal the design |
| Paintbrush | Used to apply the black paint evenly over the colored layer without missing any spots |
| Printable Templates (Optional) | Used as stencils for specific designs like silhouettes, printed, cut out, and traced onto the surface |
| Tape (Optional) | Holds stencils or templates firmly in place while scratching around the design |
Basic Steps for Any Scratch Art Project
No matter what design you’re going for, the process behind scratch art stays pretty much the same every time. Follow these steps in order, and you’ll have a solid base to work from for any scratch art project.
Step 1: Color Your Cardstock with Oil Pastels
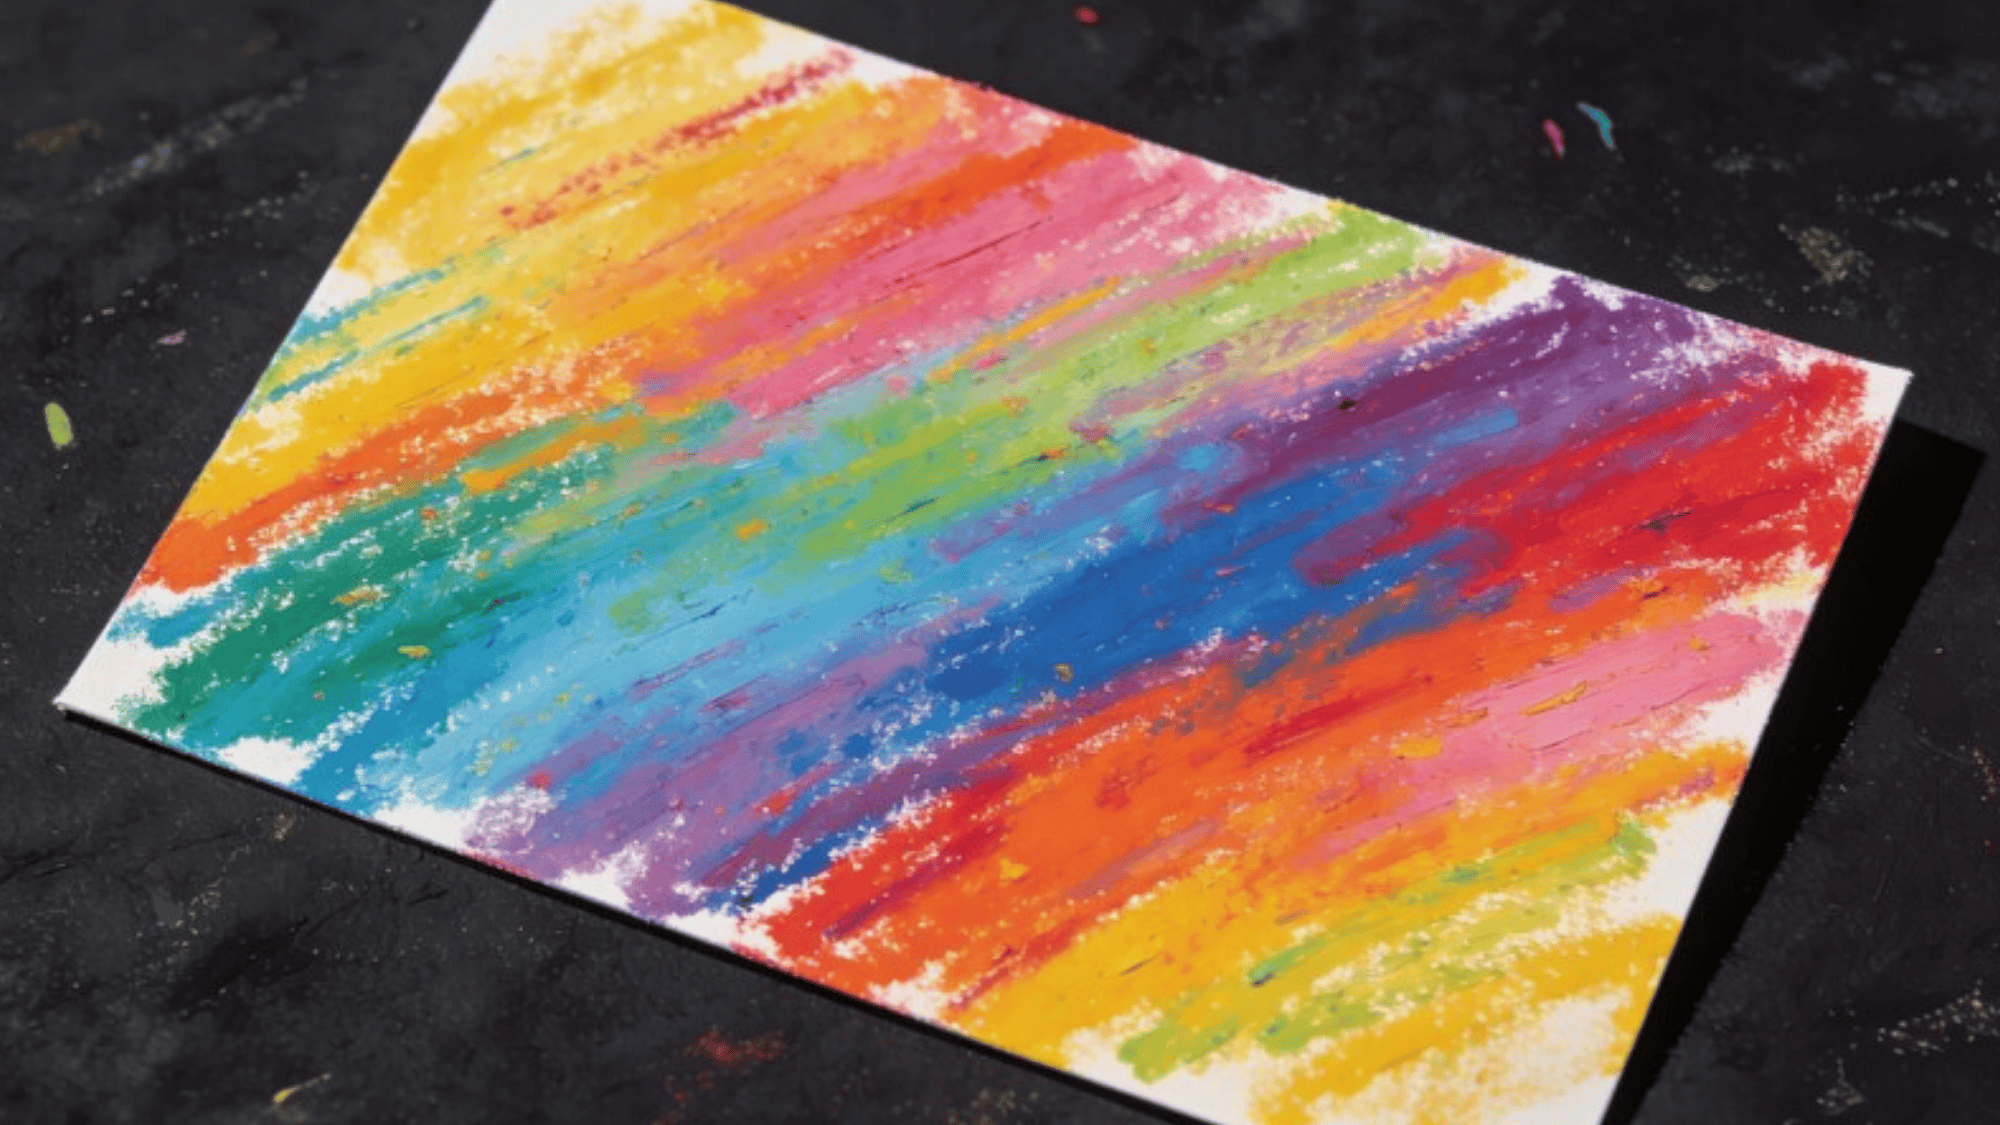
Start by covering your cardstock with bright, bold oil pastel colors. Mix up different shades and experiment with patterns, diagonal stripes, blocks of color, or random swirls; all work great.
The more varied the colors, the more striking the final result will look once you start scratching.
Step 2: Mix Dish Soap with Paint
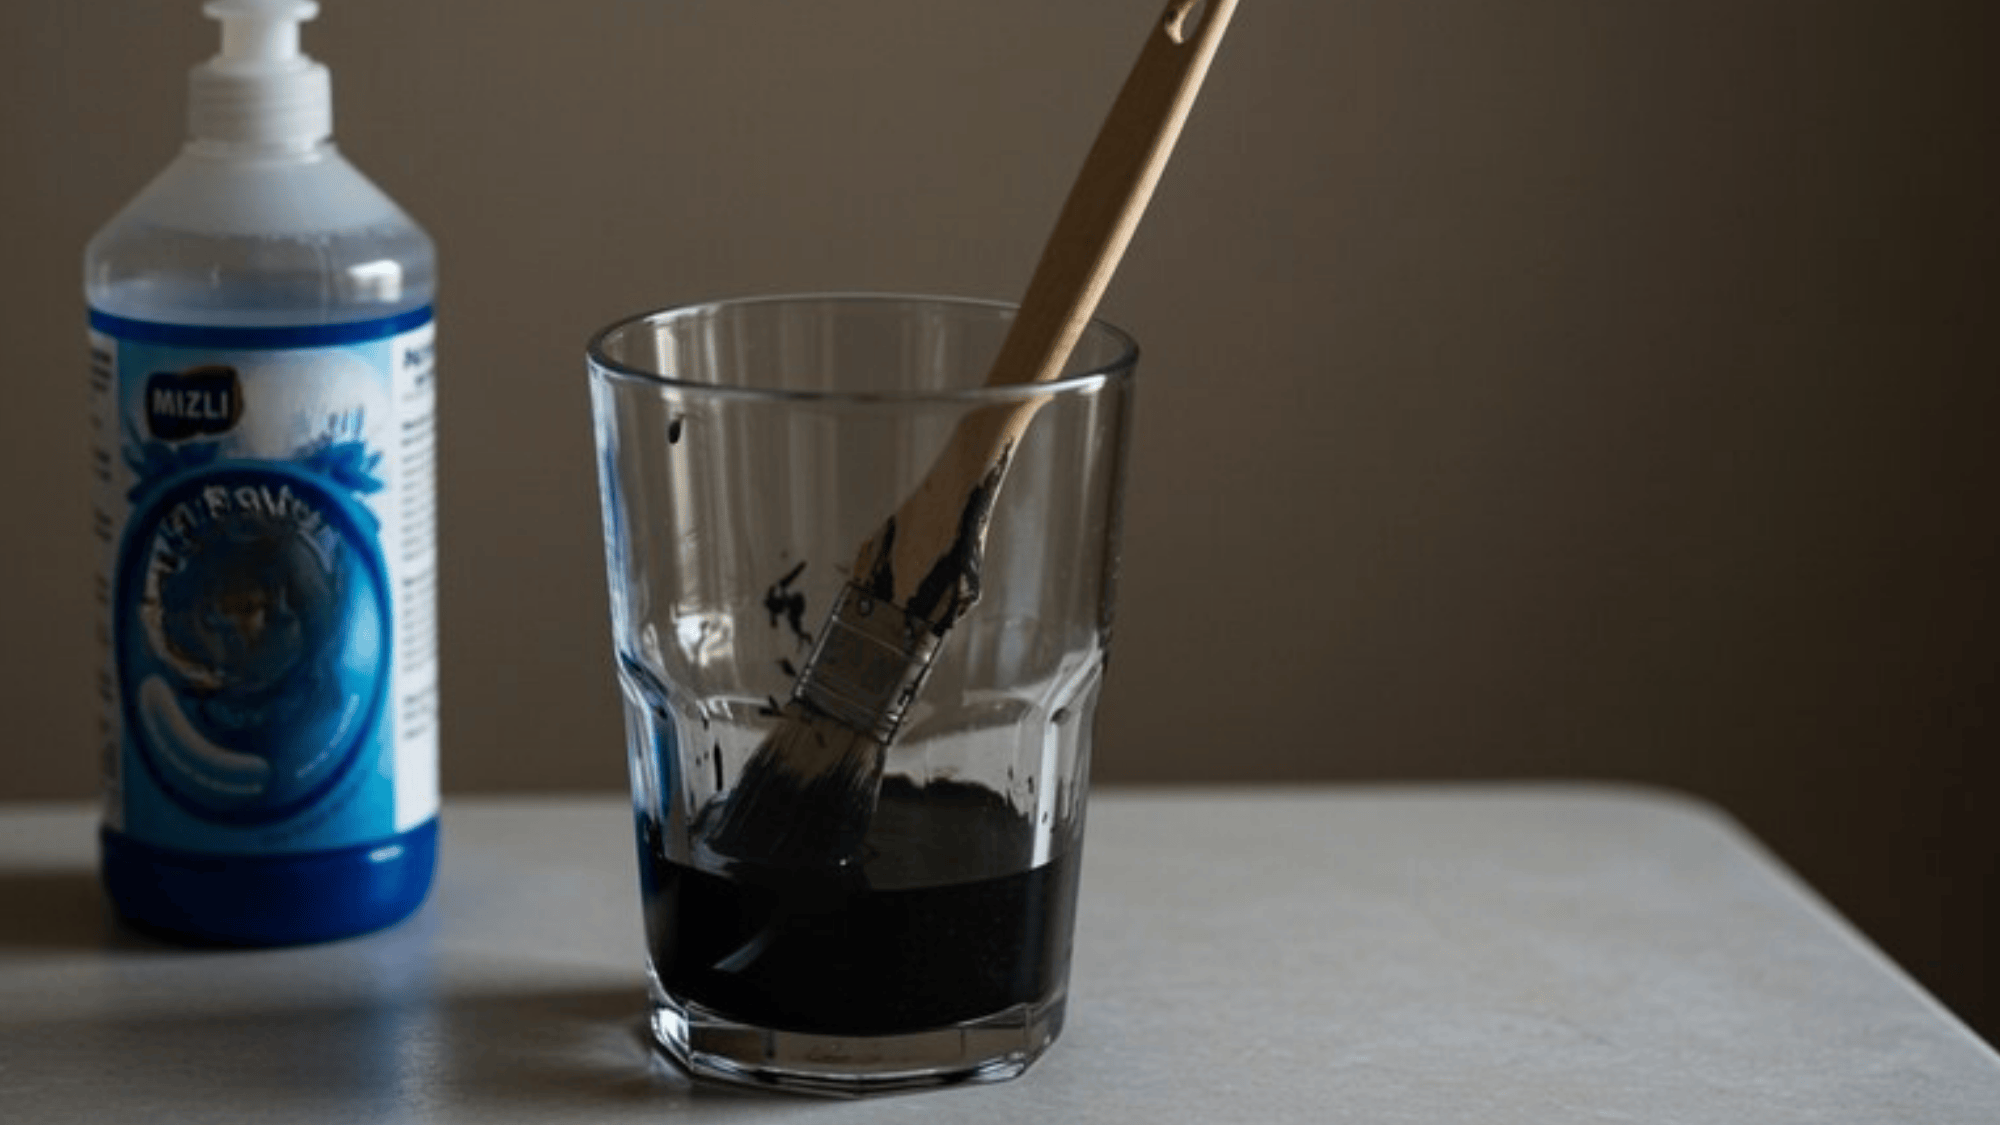
In a small dish, mix a few drops of dish soap into 1–2 tablespoons of black paint. The soap helps the paint stick smoothly to the pastel layer underneath and makes it easier to scratch through once it dries.
A ratio of about 3–4 drops of soap per tablespoon of paint is a good starting point.
Step 3: Paint the Cardstock with the Black Mixture
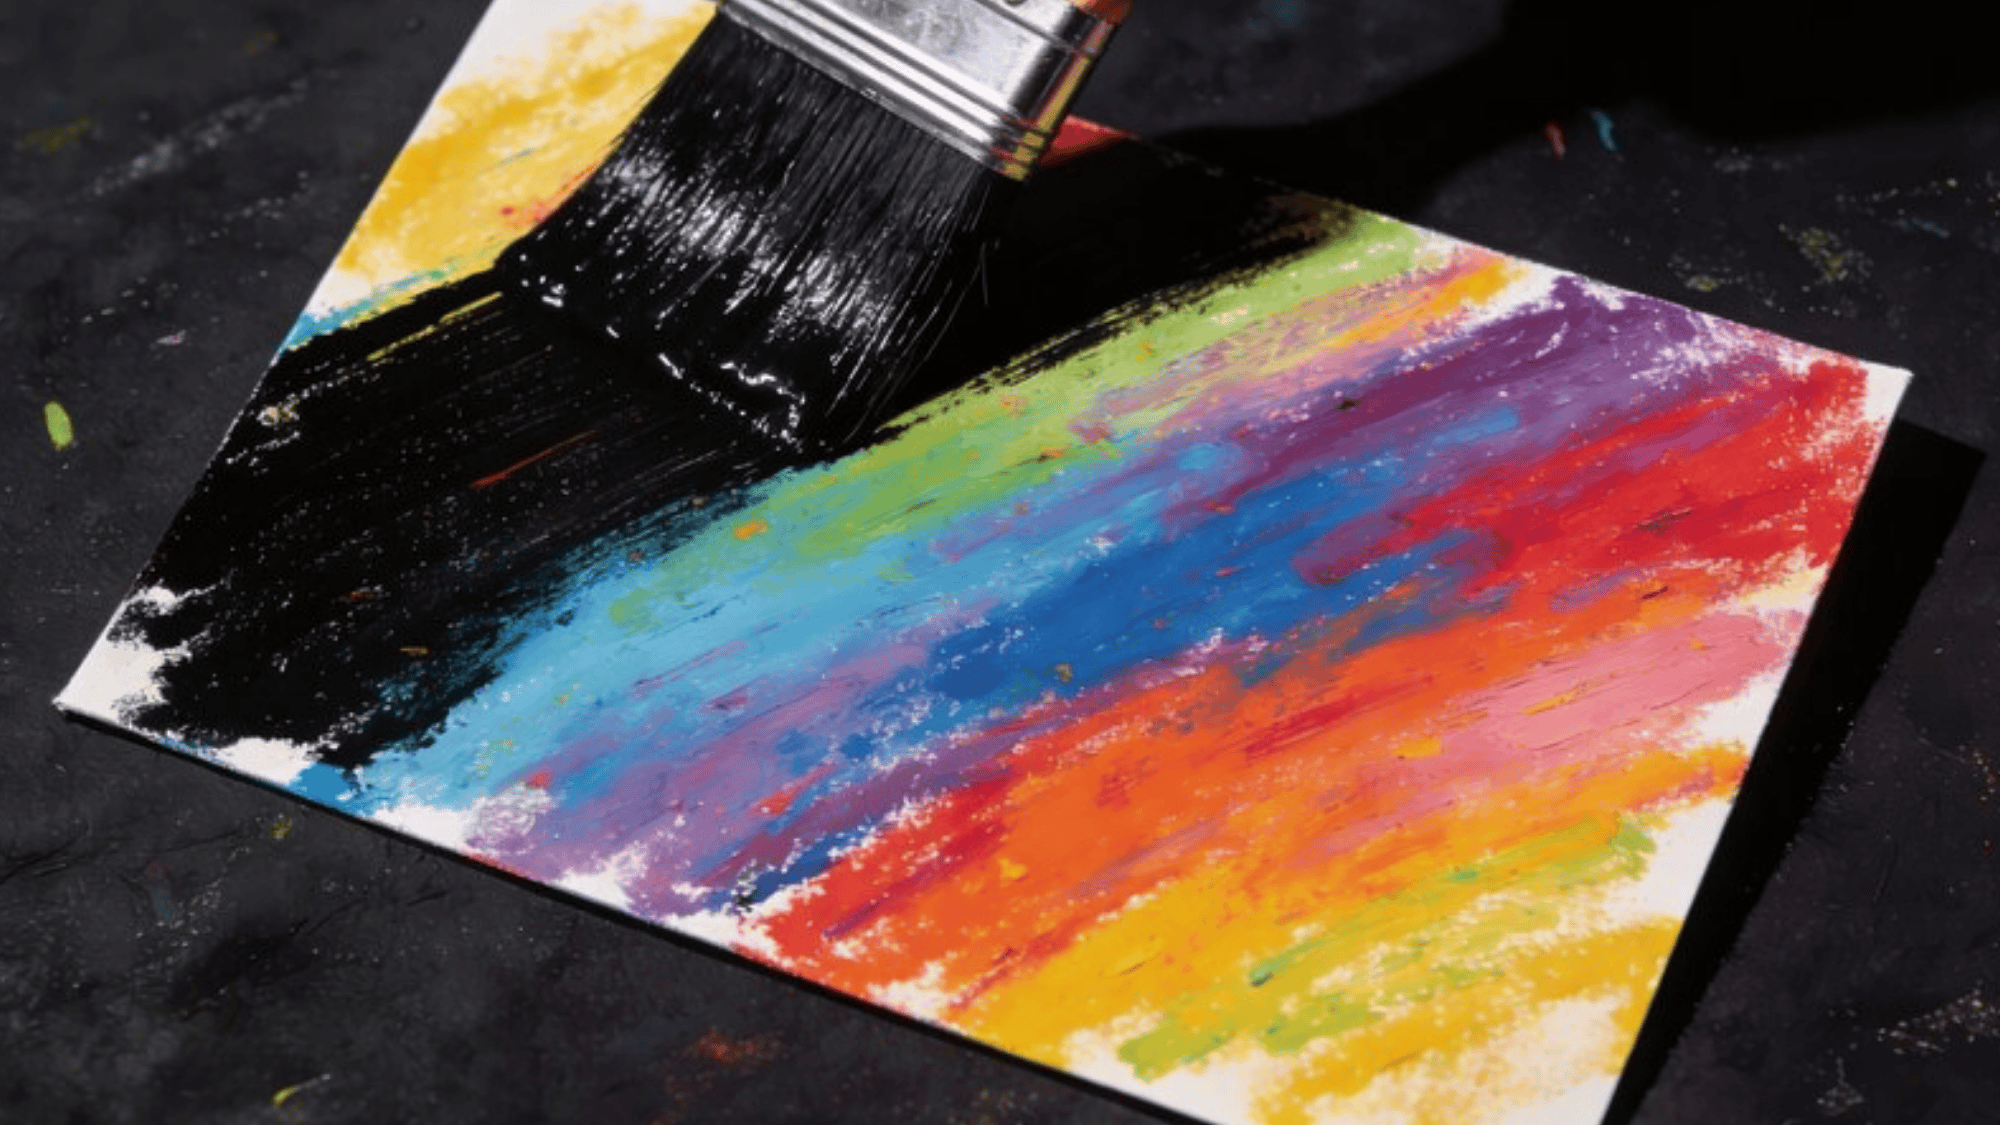
Using a paintbrush, apply the black paint mixture evenly over the entire surface. Cover every inch of the pastel layer so no color shows through.
Let it dry completely before moving on; rushing this step leads to smearing. Applying two thin coats instead of one thick coat gives a cleaner, more even finish.
Step 4: Scratch and Create Your Design
Use a scratch tool to start scratching your design into the surface. As you scratch, the colorful pastel layer beneath begins to show through. Add patterns, textures, and personal touches to make it completely your own.
There’s no right or wrong here, so encourage kids to experiment freely without worrying about perfection.
Fun and Easy Scratch Art Ideas for Beginners
Starting simple is always the right move with scratch art, especially for kids who are trying it for the first time. These beginner-friendly ideas focus on building confidence with the scratch tool before moving on to more detailed designs.
Simple Silhouettes with Scratch Art
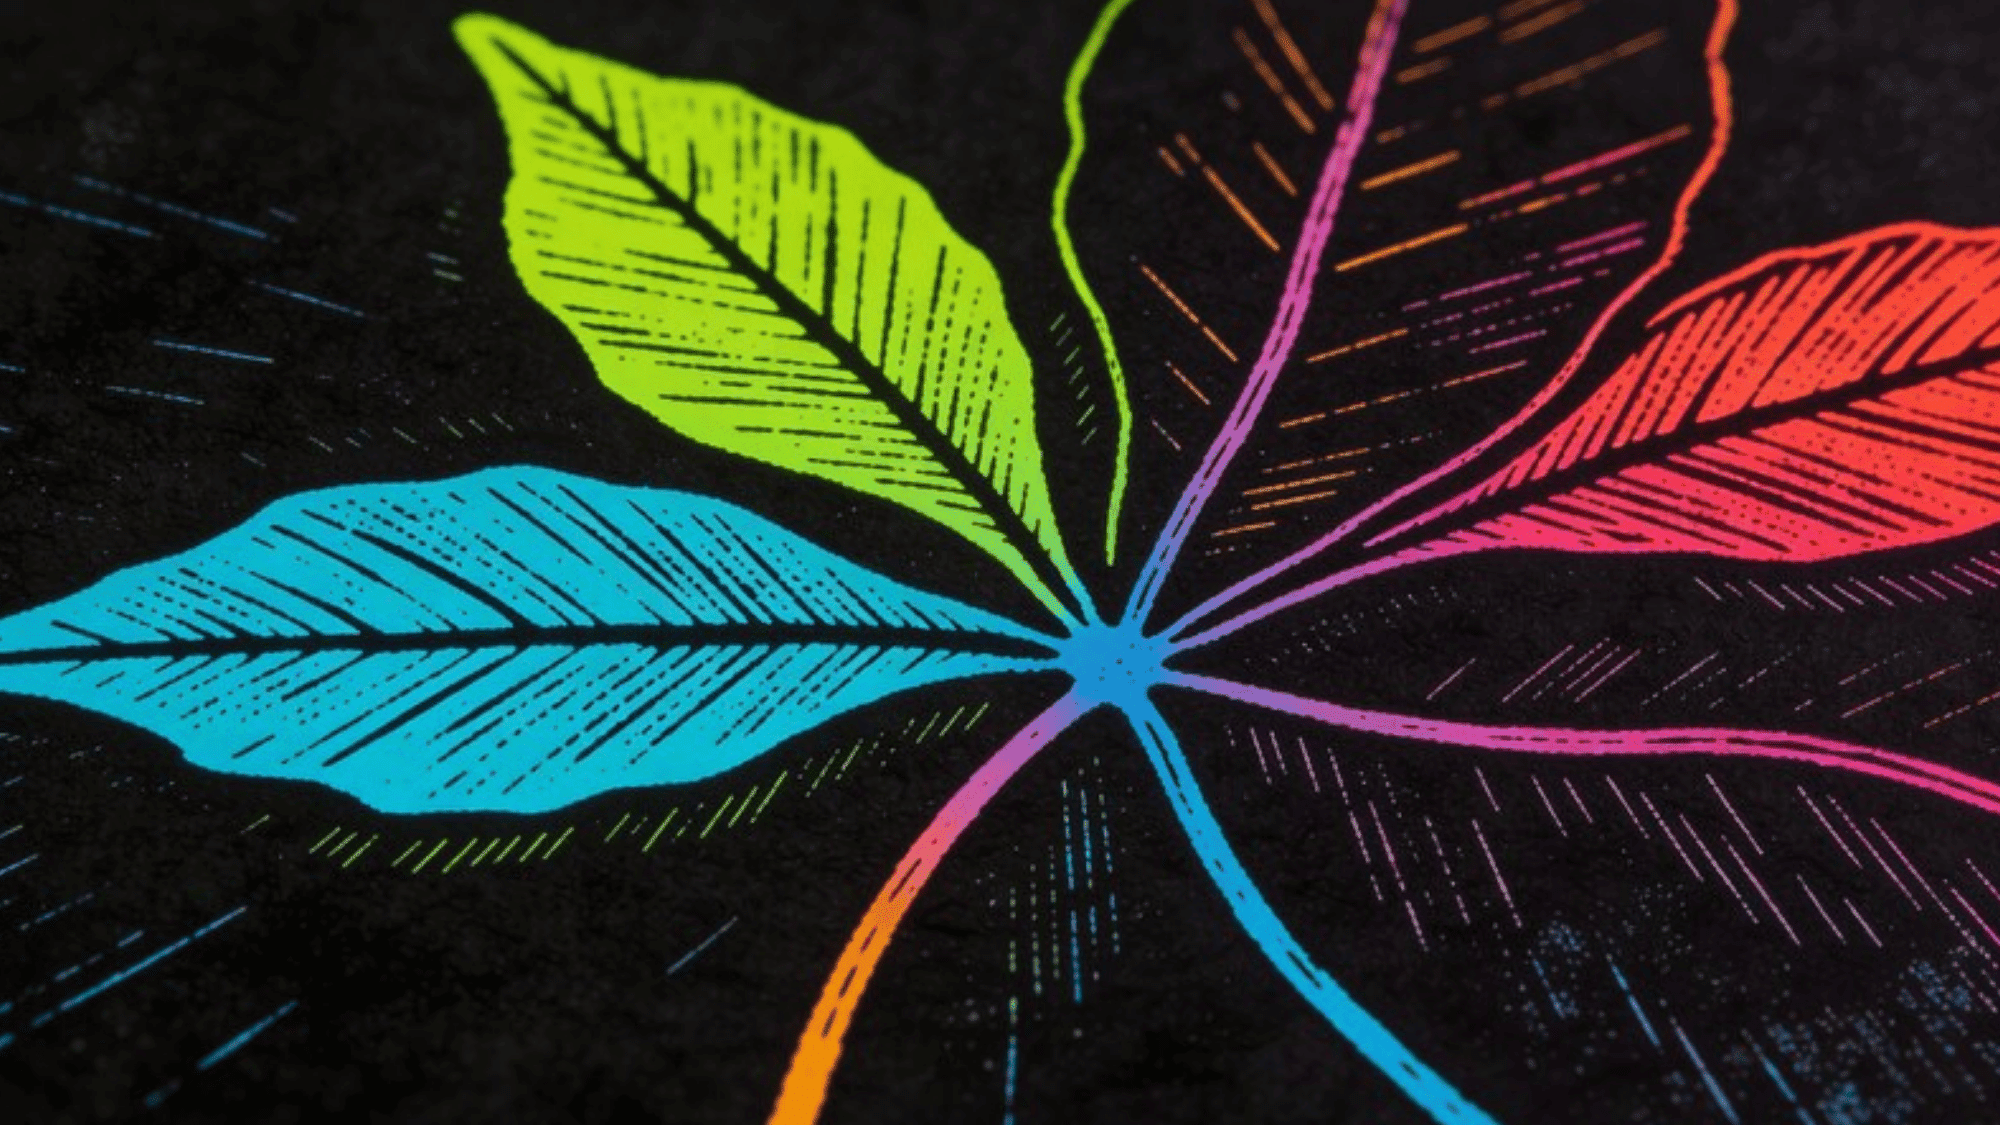
Silhouettes are one of the best starting points for beginner scratch art because the shapes are bold, simple, and forgiving. Animals, trees, and flowers are particularly popular choices because kids are familiar with the shapes and can draw them with confidence.
Step-by-step guide to creating basic shapes:
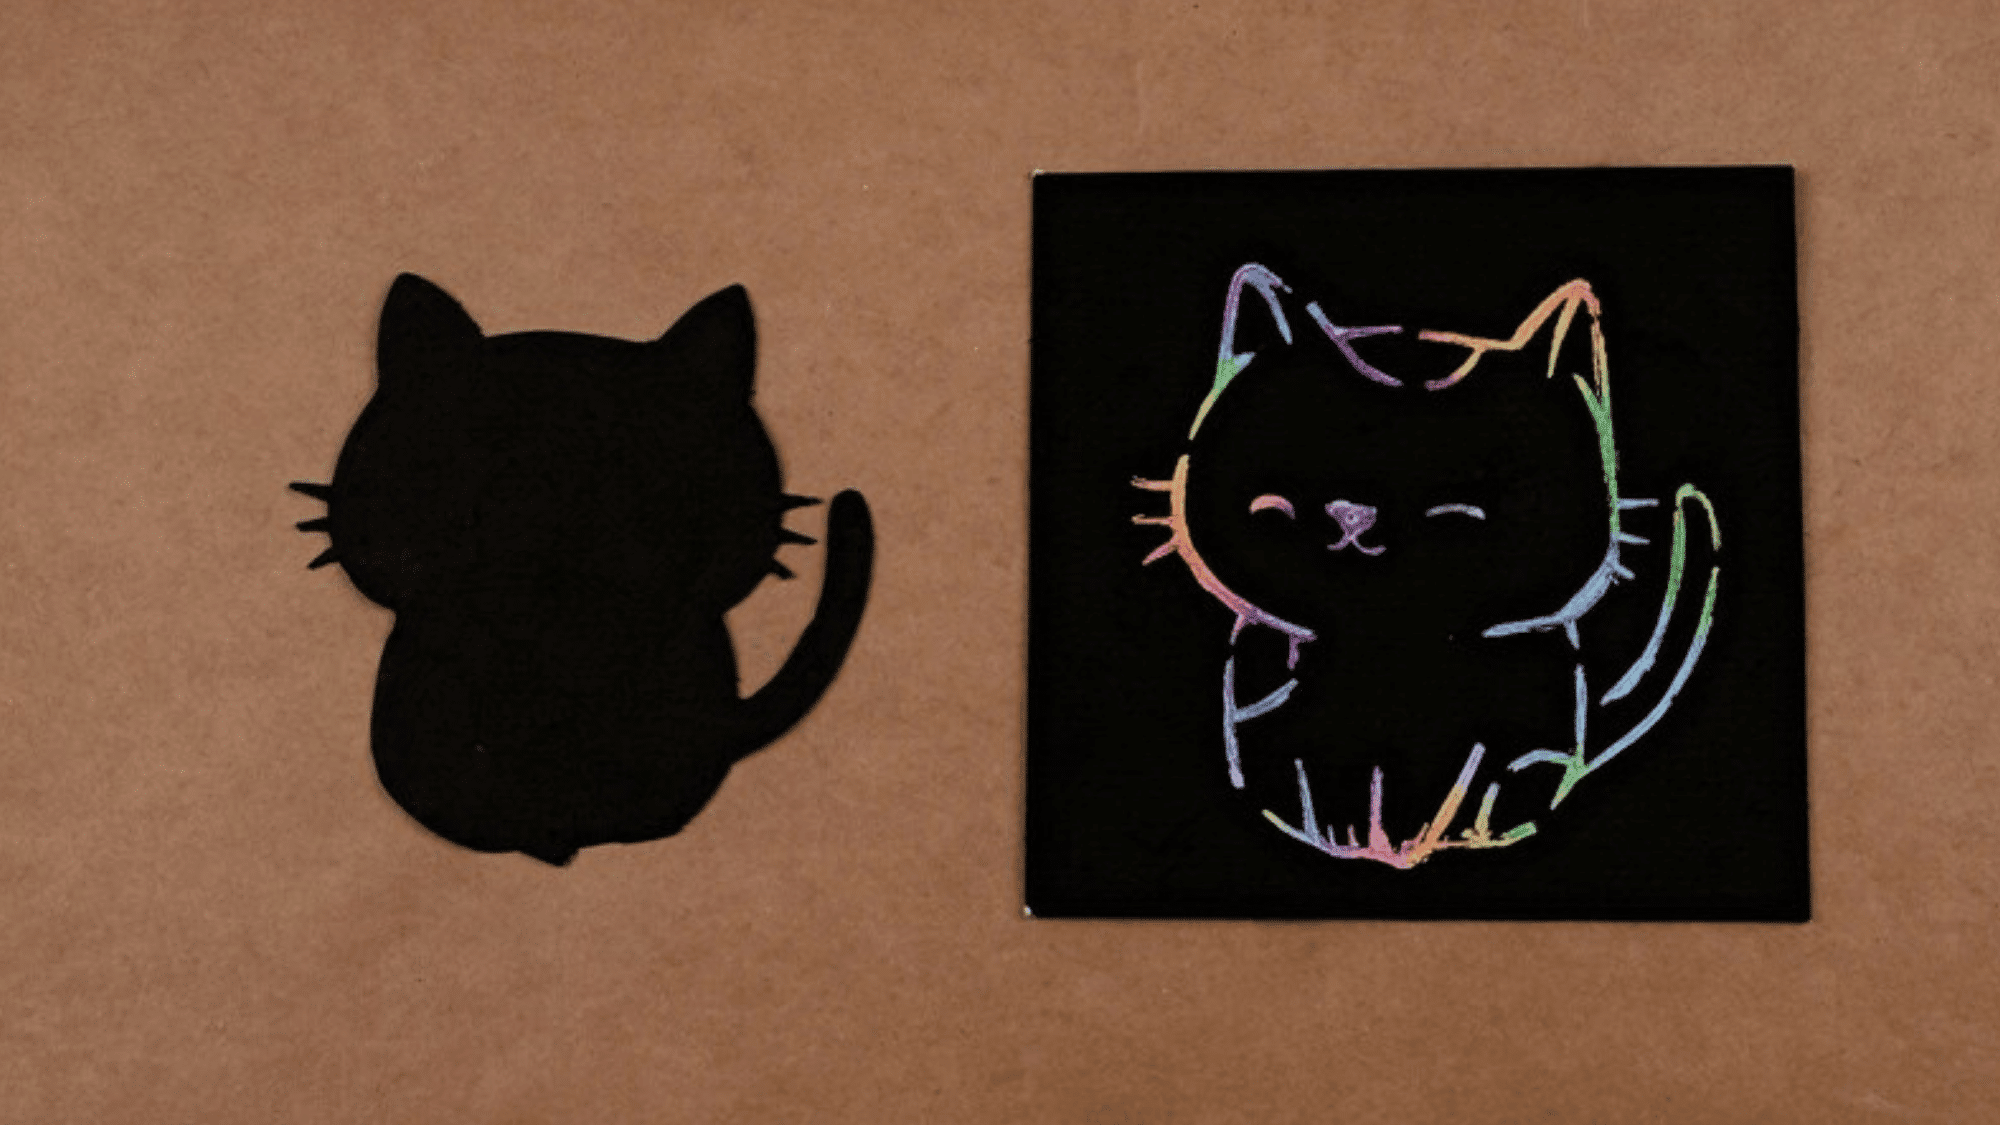
- Choose a simple silhouette, a tree, a butterfly, a cat, or a flower, which works well for beginners
- Print or hand-draw the shape on a piece of paper and cut it out carefully
- Tape the silhouette onto the dried black scratch surface as a guide
- Use a scratch tool to trace firmly around the outer edge of the shape
- Remove the template and scratch the interior of the shape using simple lines or patterns
- Fill the background around the silhouette with additional scratched texture if desired
Patterns and Textures
Once kids are comfortable holding the scratch tool, experimenting with different patterns and textures is the next natural step. The great thing about patterns is that there’s no template needed, just the tool and a little imagination.
Fun patterns for kids to use:
- Spirals: Start from the center and work outward in a continuous circular motion
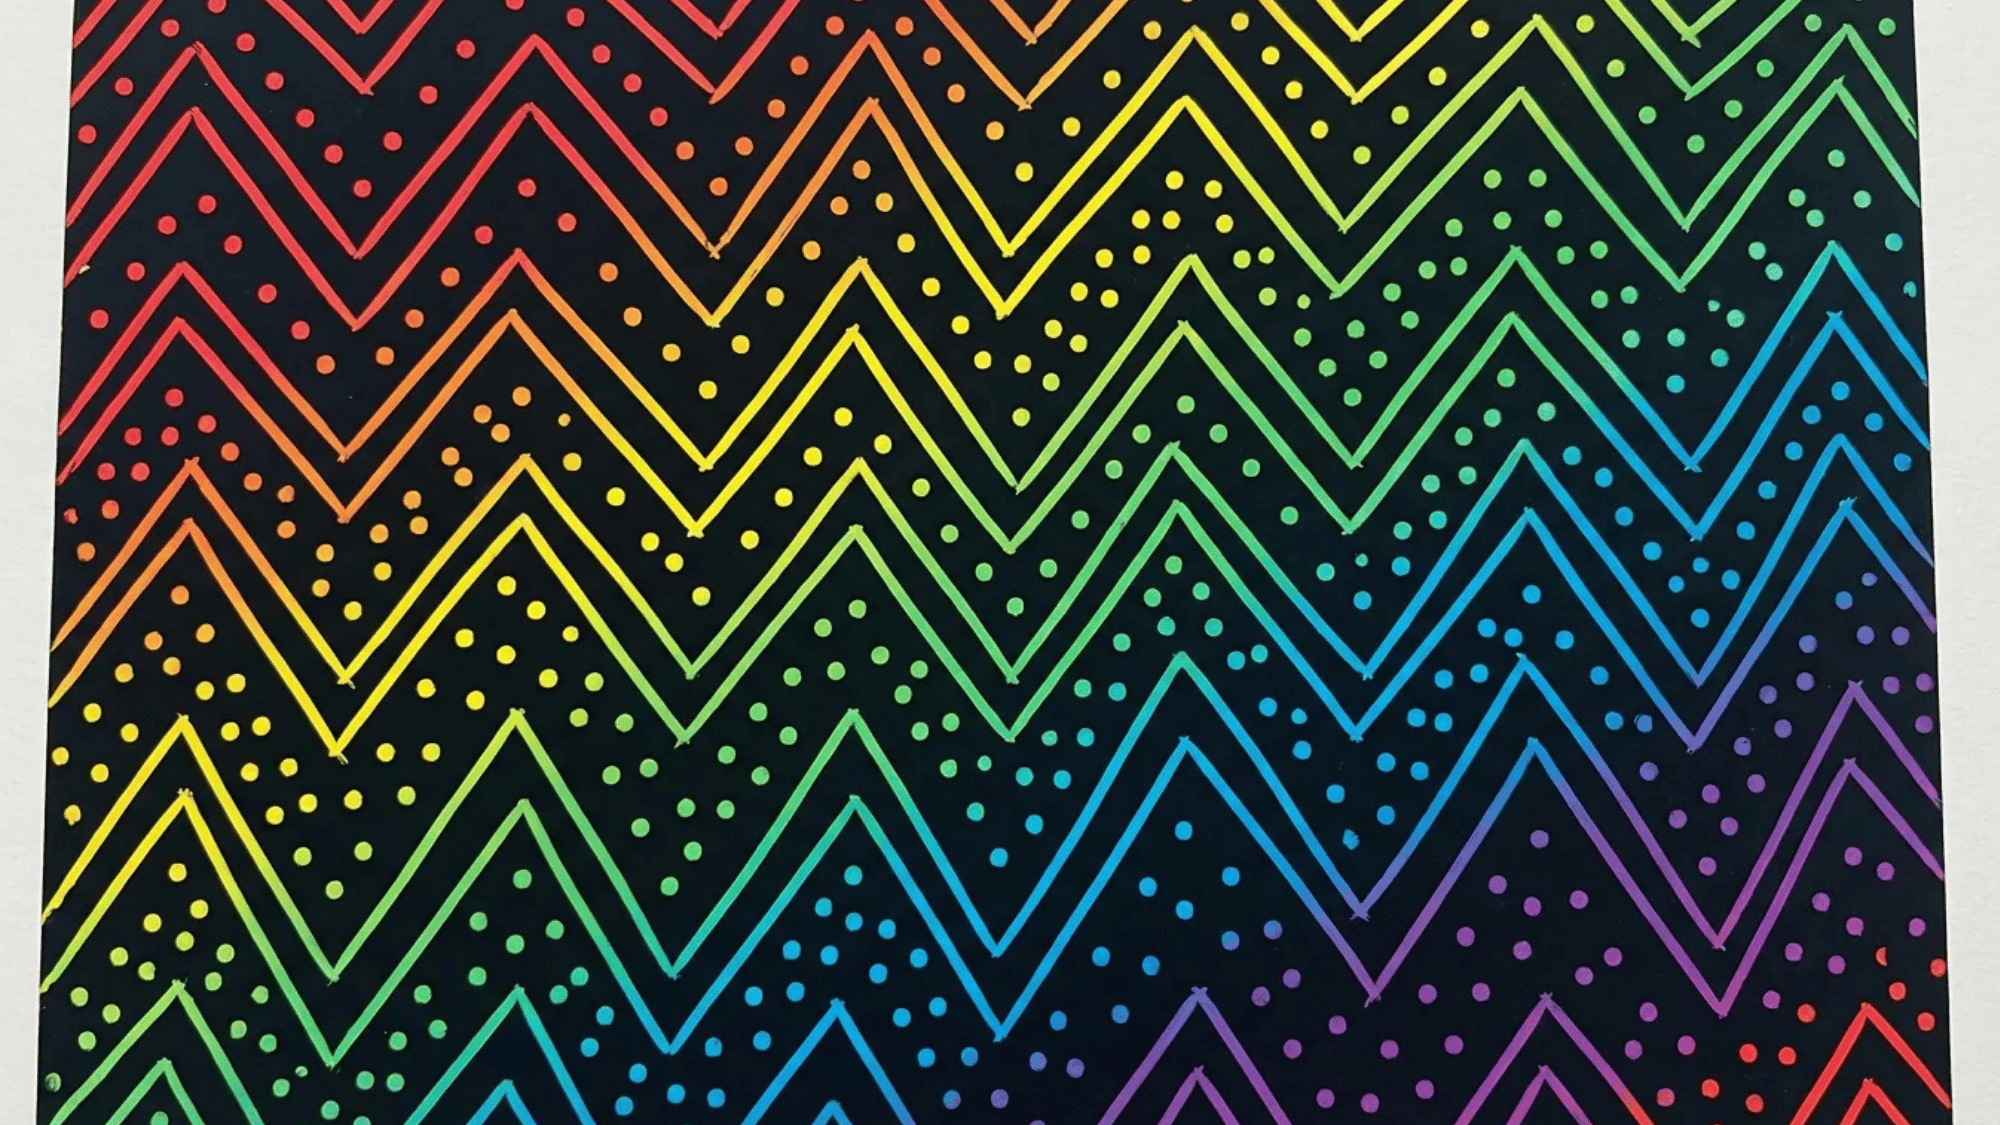
- Zigzags: Sharp back-and-forth lines that create a bold, graphic effect
- Dots and dashes: Simple but satisfying, especially when arranged in repeating rows
- Concentric circles: Rings that grow outward from a central point, great for filling large areas
- Scales or waves: Overlapping curved lines that create a fish-scale or ocean-wave effect
Scratch Art Ideas for Classroom Projects
Scratch art fits surprisingly well into a classroom setting because it keeps kids engaged while still being tied to actual learning. It works across different subjects and age groups, making it a great tool for teachers who want to make lessons more hands-on.
Scratch Art for Educational Lessons
Using scratch art in a lesson gives kids a reason to engage with the subject matter more closely than they would by simply reading or taking notes. The act of planning and creating a scratch art piece around a topic reinforces what they’ve learned in a way that sticks.
Examples of scratch art educational projects:
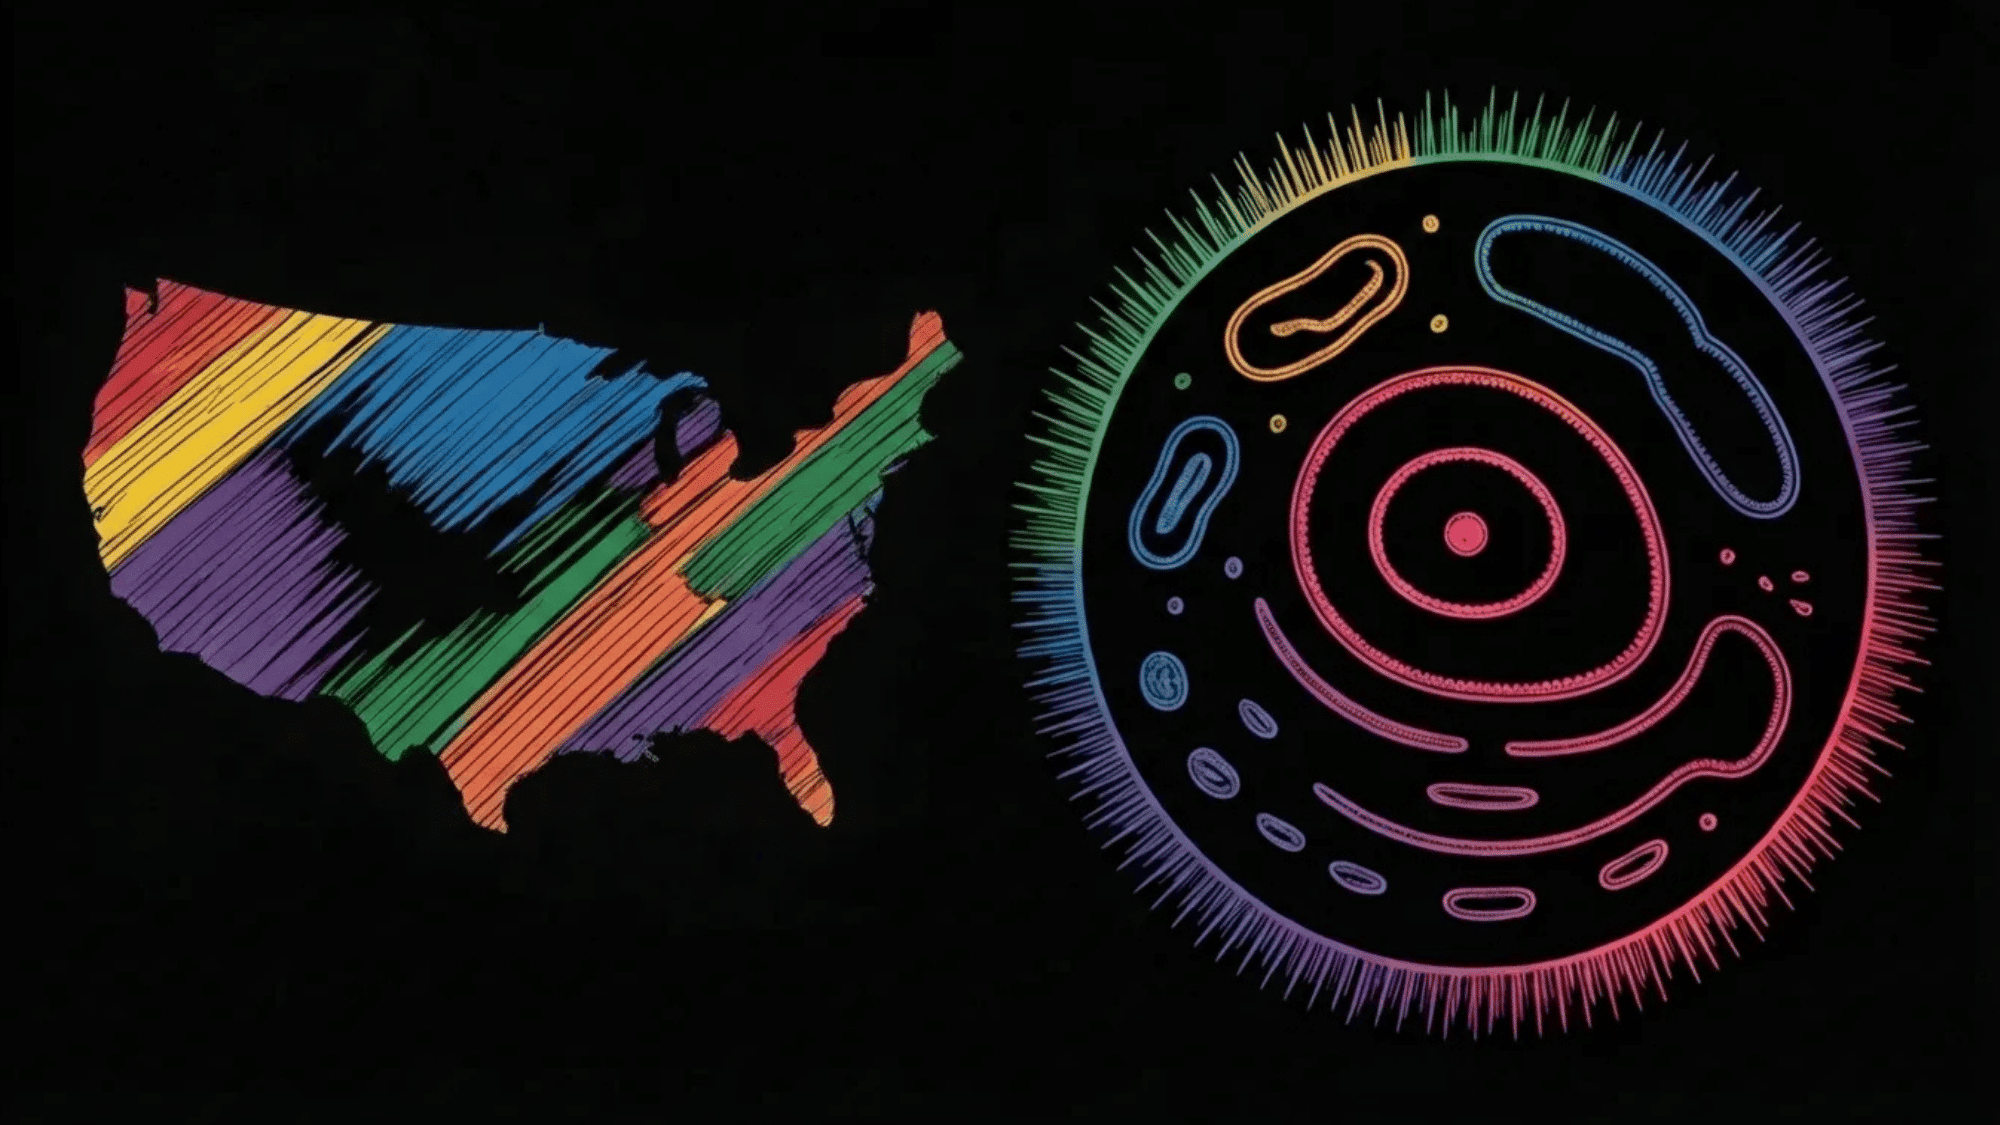
- Scratch art maps: World maps, country outlines, or topographical maps with labeled features
- Historical figures: Silhouette portraits of significant people from history surrounded by key facts
- Animal cells: Detailed cell diagrams with scratched labels and color-coded sections beneath the black layer
Holiday-Themed Scratch Art

Holiday-themed scratch art is one of the easiest ways to keep kids excited about the activity throughout the school year. These projects also make great cards, decorations, or gifts that kids are genuinely proud to take home.
Scratch art ideas by holiday:
- Halloween: Haunted houses, bats, pumpkins, black cats, and full moons make ideal subjects for Halloween scratch art. The dark base of scratch art paper is already perfectly suited to a Halloween color reveal
- Christmas: Christmas trees, snowflakes, reindeer, and star silhouettes all translate beautifully into scratch art. Using red, green, and gold as the base colors beneath the black layer gives the finished piece a festive feel
- Easter: Easter eggs, chicks, bunny silhouettes, and spring flowers are fun and easy options. Bright pastel colors like pink, yellow, and light blue work perfectly as the base layer for Easter scratch art
Creative Scratch Art Projects for Teens
As kids get older, they’re ready to take scratch art beyond basic silhouettes and simple patterns. These projects are more detailed and require more patience, but the results are genuinely impressive and worth the extra effort.
Creating Detailed Portraits with Scratch Art
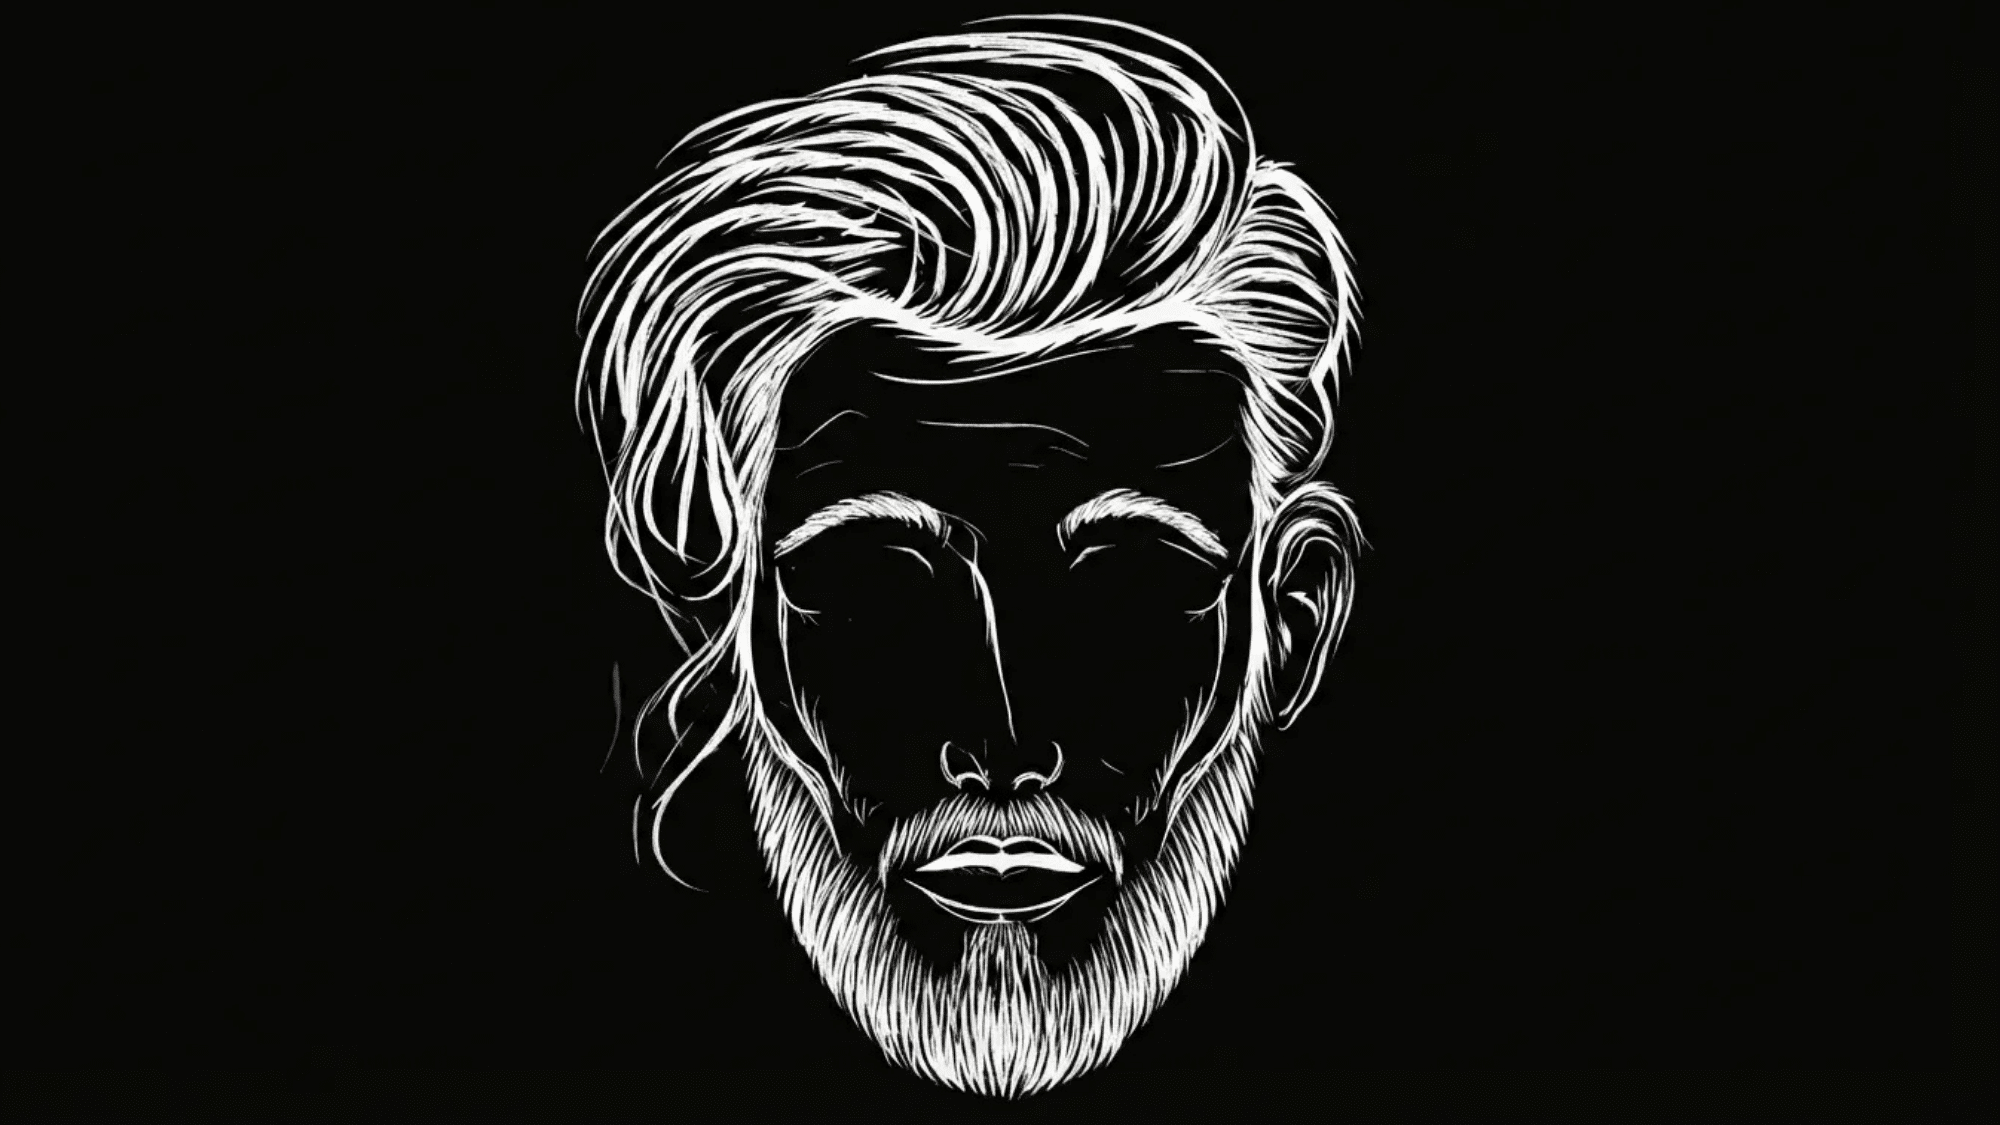
Portraits are one of the most rewarding scratch art projects for older kids because the finished pieces look complex and skillful, even when the technique is straightforward.
Step-by-step process:
- Place a reference photo beside your work surface
- Mark the basic placement of facial features lightly using a blunt tool
- Start with the eyes, then work outward to the nose and mouth using short, controlled strokes
- Build up lighter areas like the forehead and cheekbones with crosshatching
- Leave shadow areas mostly untouched to maintain depth and contrast
- Add hair last using long, fluid strokes that follow the natural direction of the hair
Scratch Art Mandalas
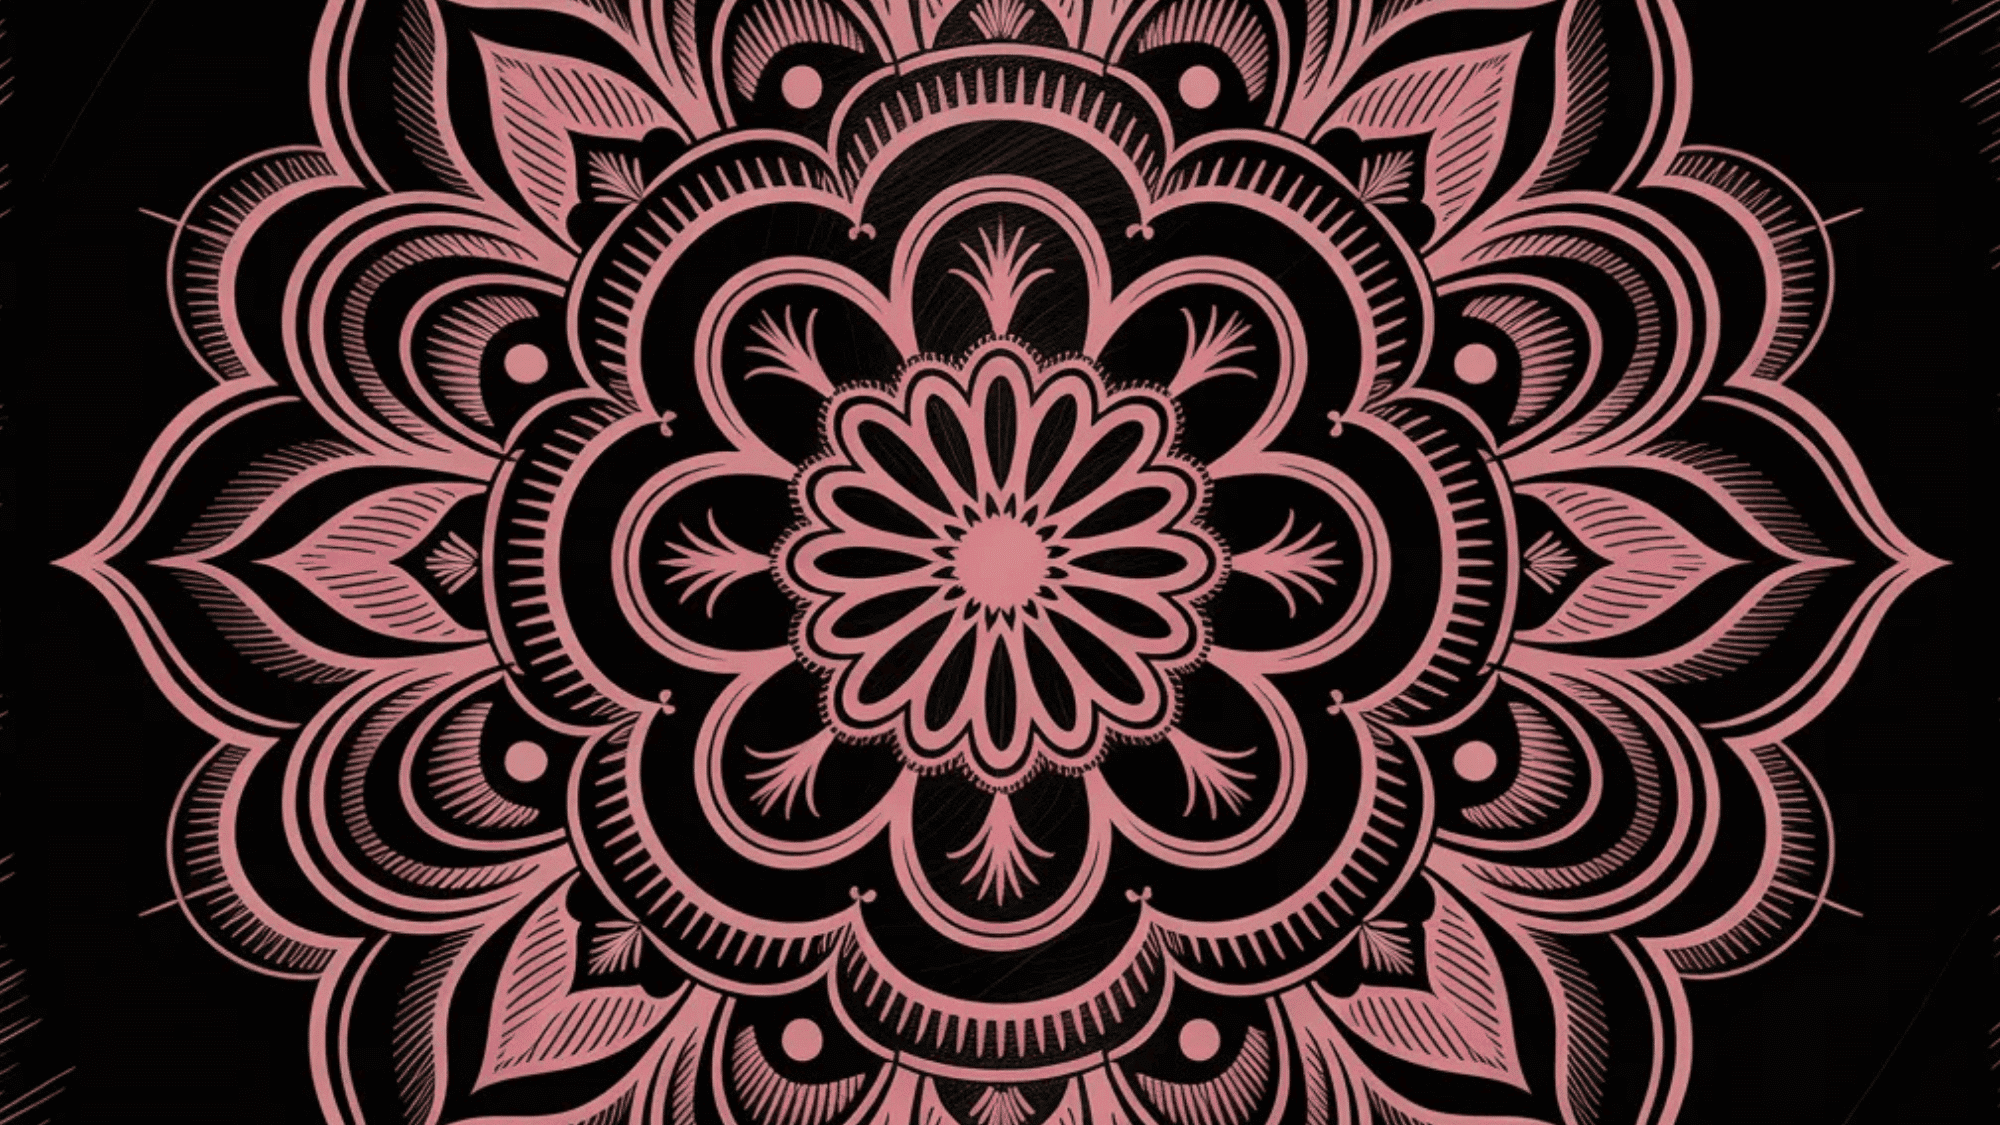
Mandalas are circular, symmetrical designs built outward from a central point, and they translate beautifully into scratch art. The dark background makes every scratched line pop, giving even a simple mandala a striking, polished look.
How to create a symmetrical mandala:
- Make a centre point and use a compass or circular objects to draw several concentric rings of increasing size around the centre
- Divide the circle into 8 or 12 equal segments using a ruler and light guidelines
- Design one segment first, then repeat the same pattern in every other segment to keep it symmetrical
- Use a different scratch pattern in each ring
- Add fine details like small dots or dashes once the main structure is complete
Conclusion
From simple silhouettes to detailed mandalas, scratch art has a way of surprising people. What starts as a basic activity quickly becomes personal, and that’s exactly what makes it worth coming back to.
The scratch art ideas in this guide are designed to grow with the artist, so there’s always something new to try, regardless of age or skill level. The best part? Every scratch is a decision, and every decision builds confidence.
So grab some scratch paper, mix up that black paint, and let the colors do the talking. The blank black surface isn’t intimidating; it’s just waiting for the right idea.